Although I have been working primarily on Jenkins in the past 6 years plus, I do have some experience in other CI/CD platforms. Today we shall talk about GitOps with Gitlab CI/CD.
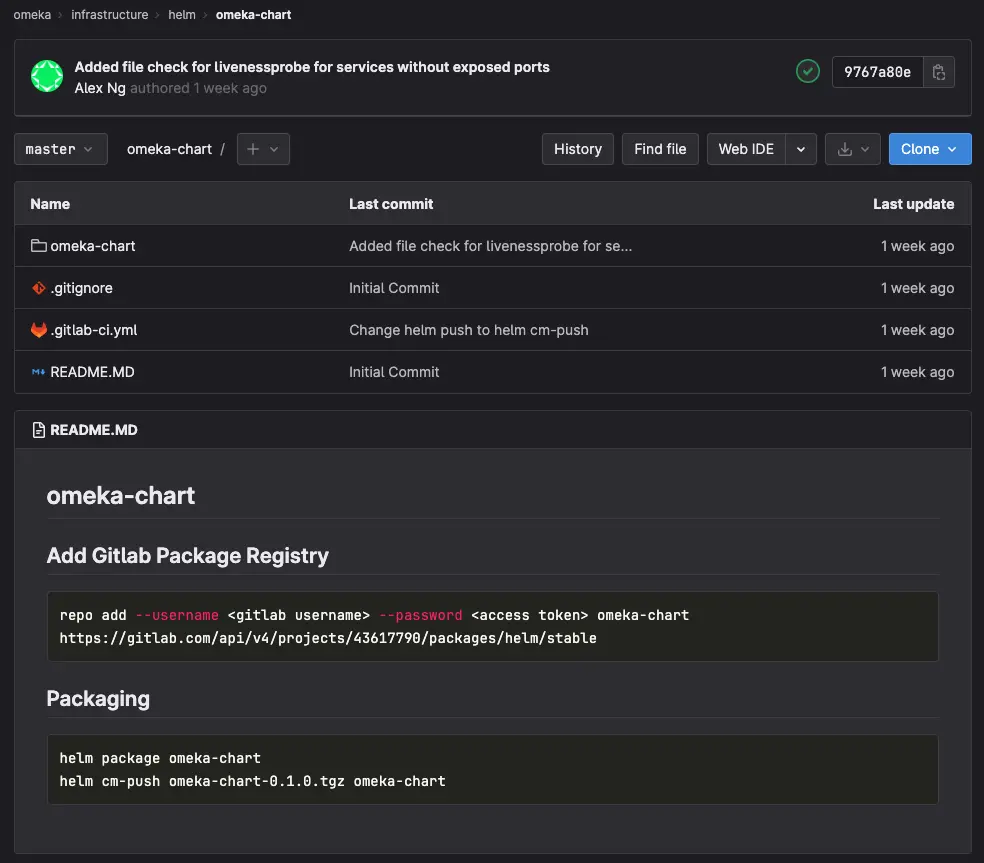
Let us start with create a sample GitLab repository to work on. In this case, it will be my helm chart for my kubernetes cluster.

After which, commit your helm chart into this repository together with a .gitlab-ci.yml file which defines the CI/CD pipeline for this repository.
stages:
  - package-and-publish

helm-package:
  stage: package-and-publish
  image:
    name: alpine/helm:3.11.1
    entrypoint: [""]
  tags:
    - shared
    - linux
  variables:
    CHART: omeka-chart
  before_script:
    - apk add git
    - helm plugin install --version=v0.10.3 https://github.com/chartmuseum/helm-push.git
    - >
      helm repo add ${CHART}
      --username gitlab-ci-token
      --password $CI_JOB_TOKEN
      ${CI_API_V4_URL}/projects/${CI_PROJECT_ID}/packages/helm/stable
  script:
    - helm package ${CHART}
    - helm cm-push ${CHART}*.tgz ${CHART}
  only:
    refs:
      - master
    changes:
      - omeka-chart/**/*
The stage groups the different jobs so that we can organize it better. The before_script keyword defines the sets of command to run before executing the script commands.
Normally we will add commands such as installing dependencies, authentication with repositories, etc, in this particular step.
The only keyword defines the conditions that this pipeline will trigger and run. In this particular case, this pipeline will only run if there's a change in the master branch of this repository.
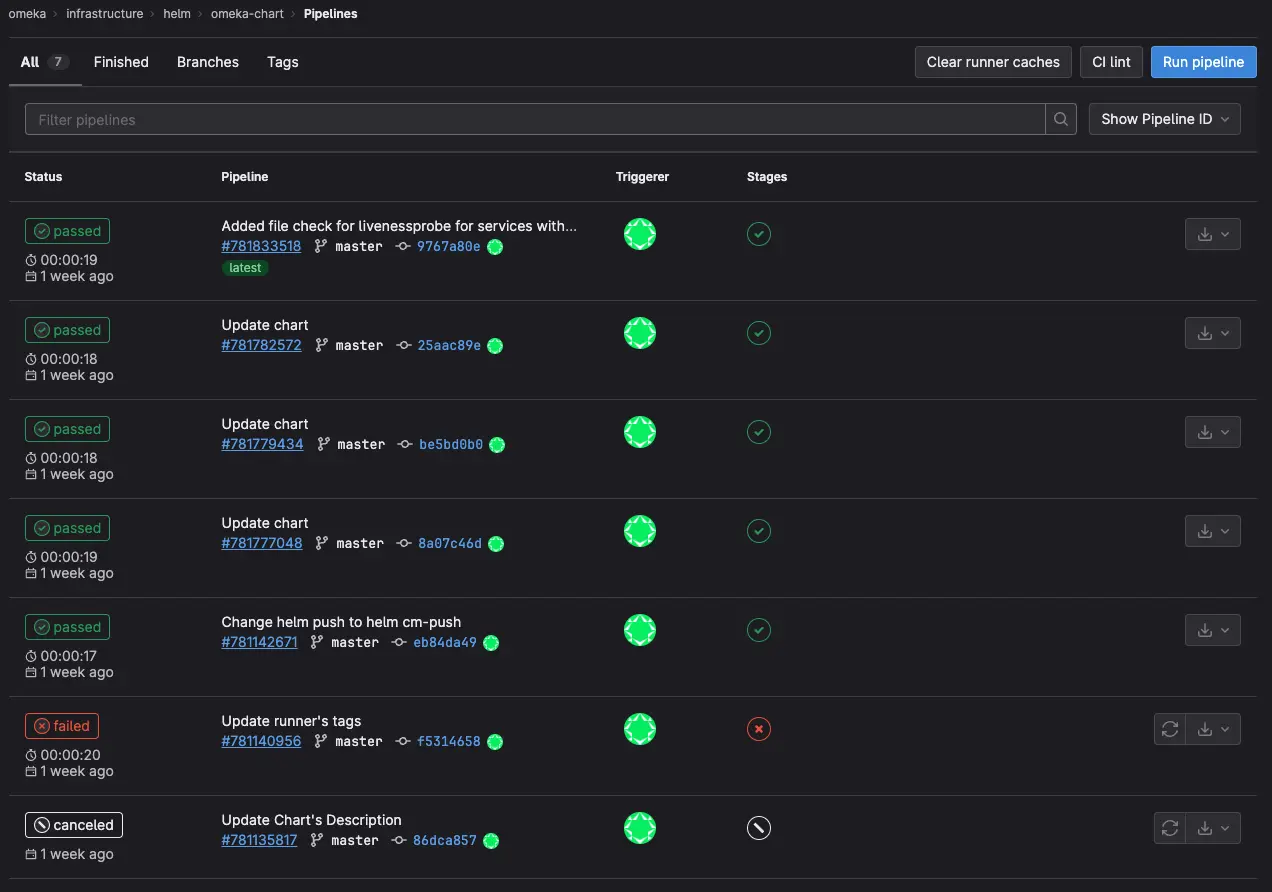
Once you have committed the above file, it should trigger a pipeline in the CI/CD section of your repository.

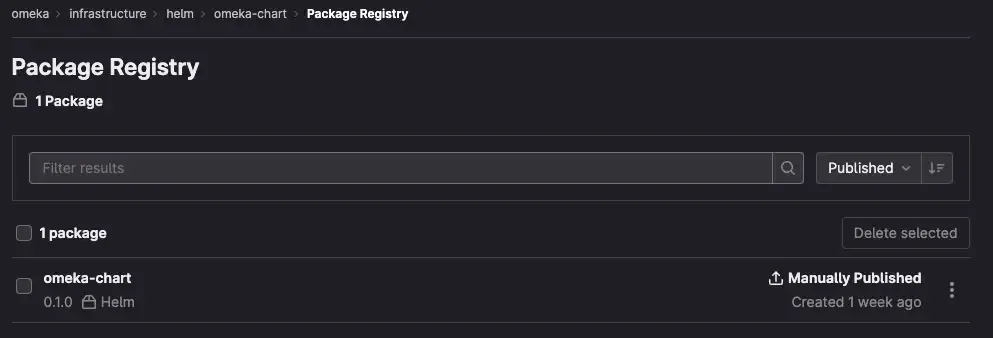
Once the pipeline has successfully ran, you should be able to see your helm-chart in the Package Registry section of your repository.

Give it a try today! It's not hard.
