I had a little free time on hand and saw an e-mail by CSIT on a new mini-challenge. Since this topic is on Cloud Infrastructure, my domain, how could I miss it? 😄
The Challenge

Background


Tools for this challenge
This challenge is using killercoda for simulation where you get an environment for 1 hour to simulate the tasks. Cool!

Task 1: The Murder Weapon
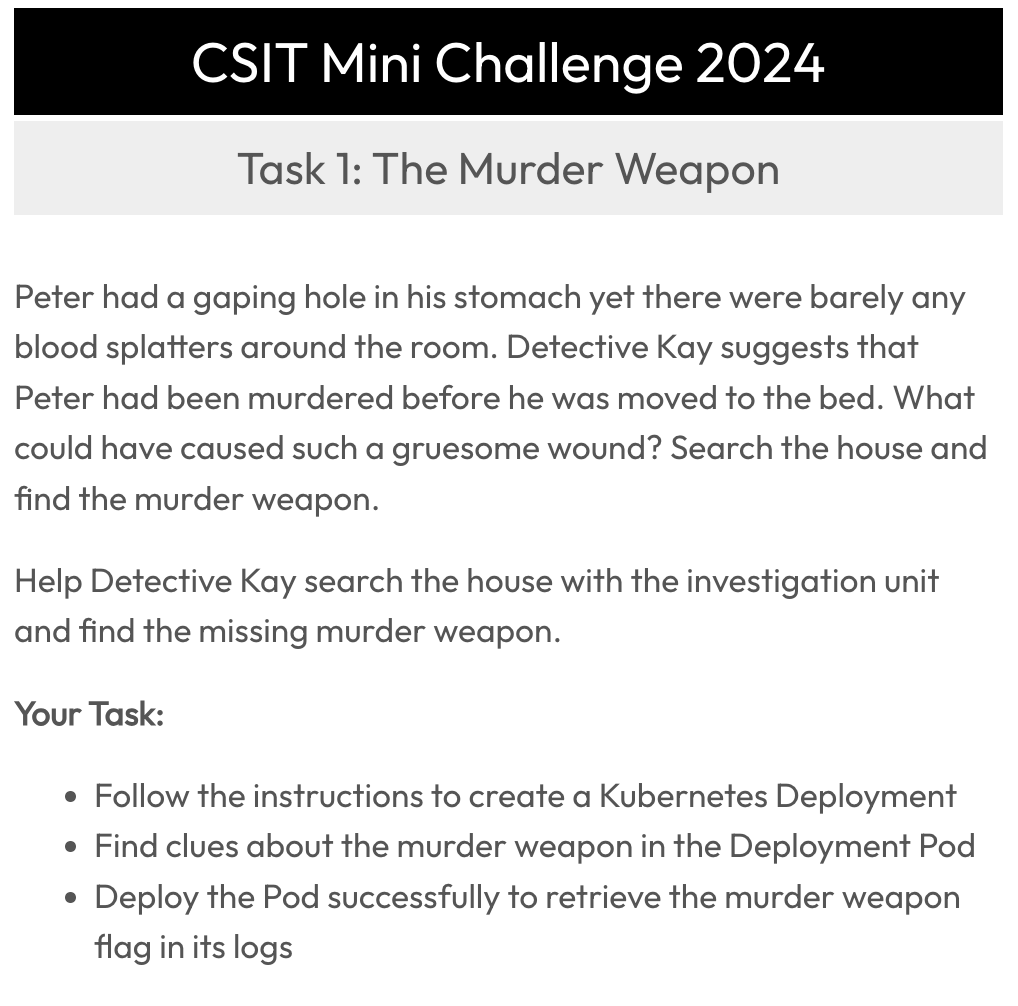
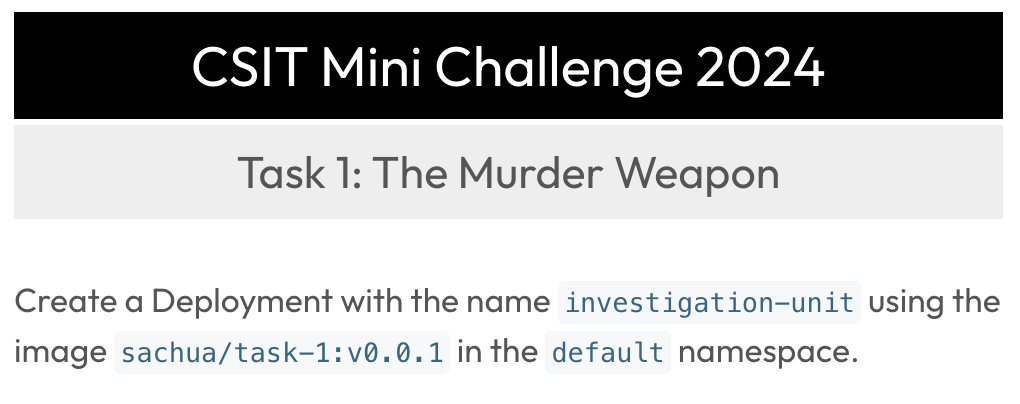
The first task is pretty easy. Just use the command below to create a deployment. The -n default is kind of redundant as kubectl will default to the default namespace if -n is not specified.
kubectl create deployment investigation-unit --image=sachua/task-1:v0.0.1 -n defaultOutput:

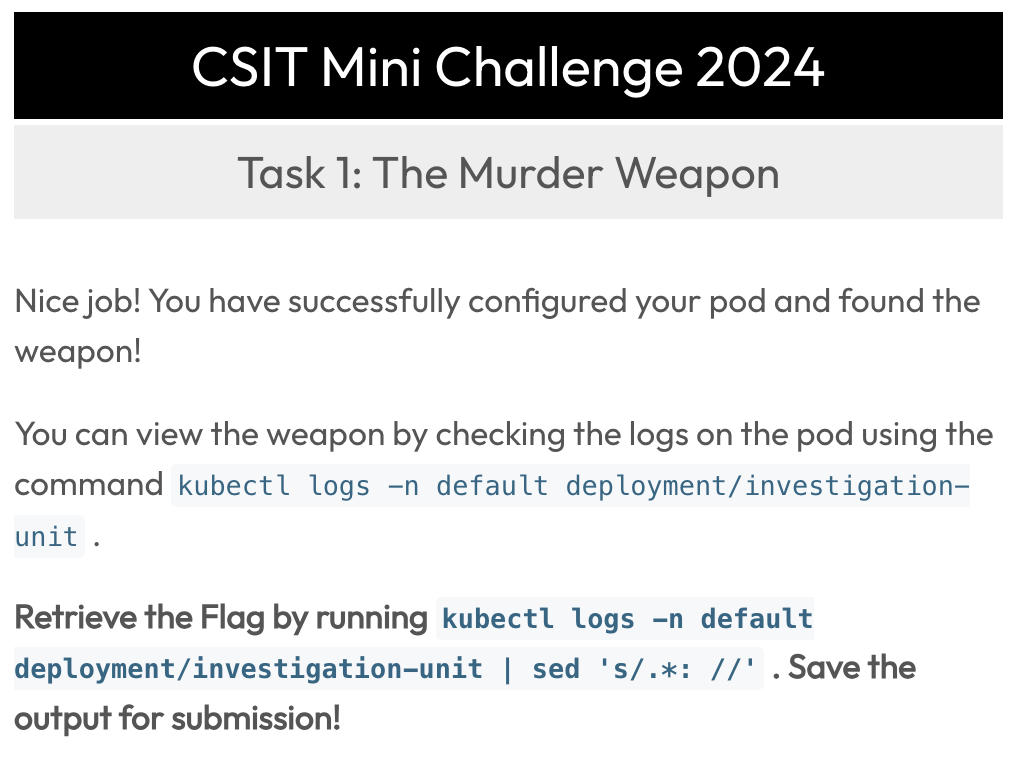
The command to retrieve flag is already given, just copy and paste 😄
kubectl logs -n default deployment/investigation-unit | sed 's/.*: //'Output:

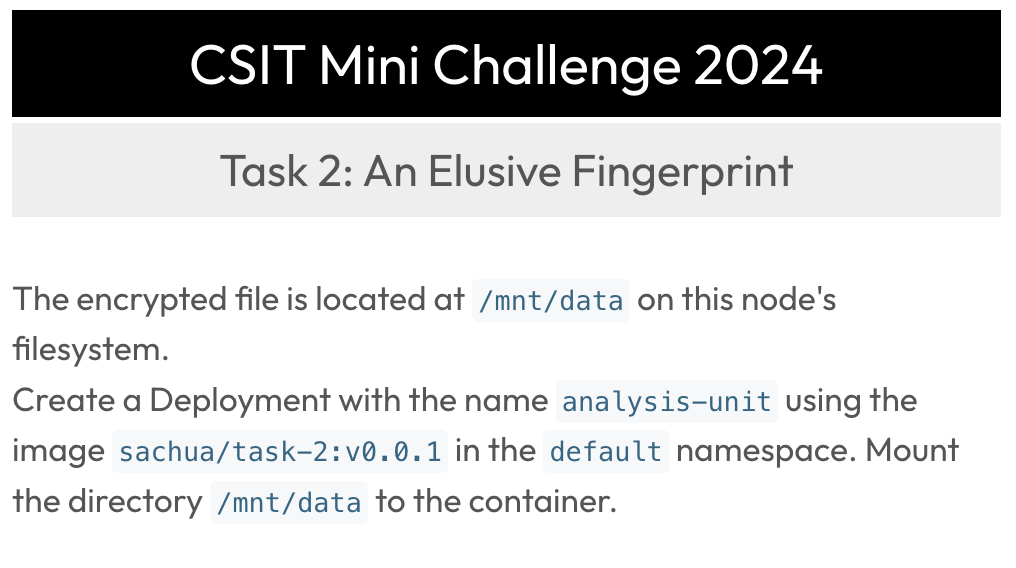
Task 2: An Elusive Fingerprint
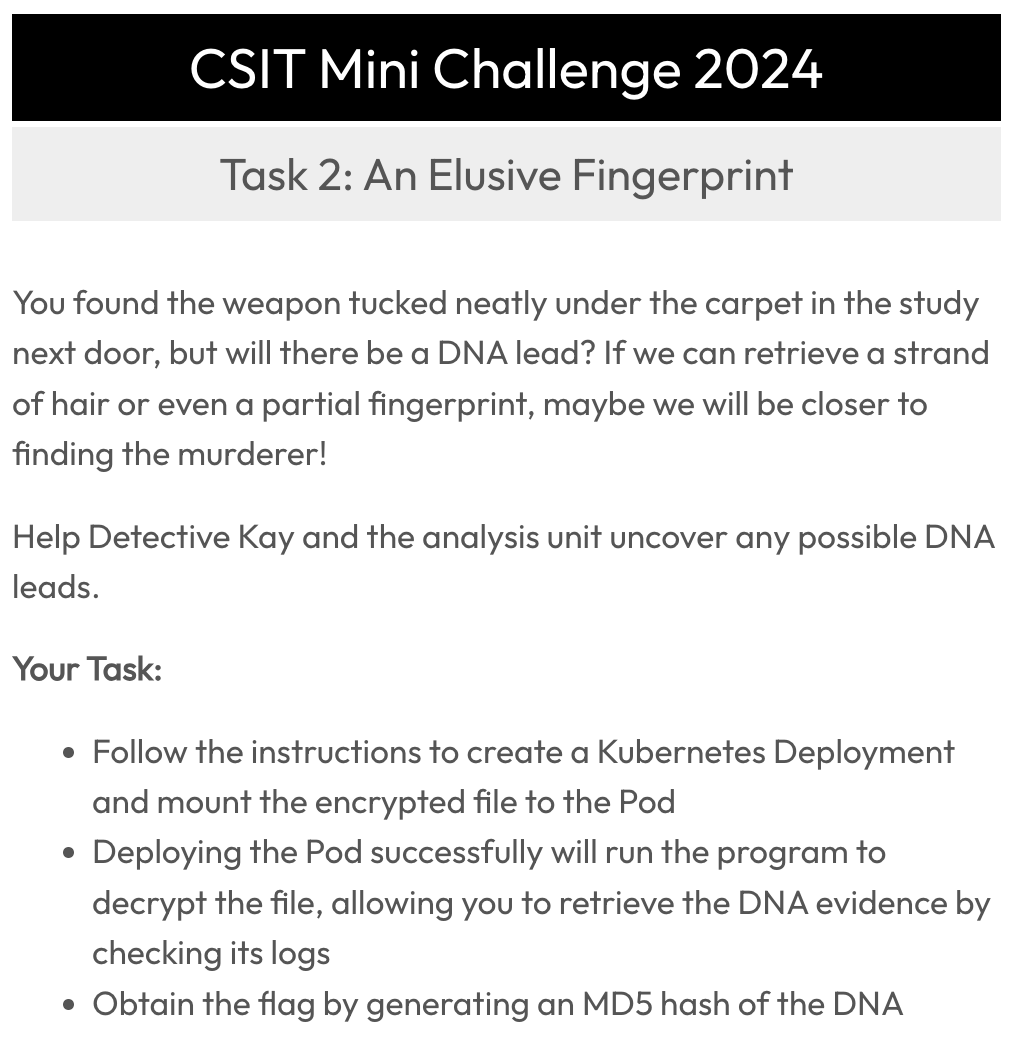
We will need to create 3 files for this Task:
- pv.yaml (Persistent Volume)
- pvc.yaml (Persistent Volume Claim)
- deployment.yaml (Deployment)
apiVersion: v1
kind: PersistentVolume
metadata:
  name: analysis-unit-pv
spec:
  storageClassName: manual
  capacity:
    storage: 1Gi
  accessModes:
    - ReadWriteOnce
  hostPath:
    path: /mnt/data
pv.yaml
apiVersion: v1
kind: PersistentVolumeClaim
metadata:
  name: analysis-unit-pvc
spec:
  storageClassName: manual
  accessModes:
    - ReadWriteOnce
  resources:
    requests:
      storage: 1Gi
pvc.yaml
apiVersion: apps/v1
kind: Deployment
metadata:
  labels:
    app: analysis-unit
  name: analysis-unit
  namespace: default
spec:
  replicas: 1
  selector:
    matchLabels:
      app: analysis-unit
  template:
    metadata:
      labels:
        app: analysis-unit
    spec:
      containers:
      - image: sachua/task-2:v0.0.1
        name: task-2
        volumeMounts:
        - mountPath: /mnt/data
          name: analysis-vol
      volumes:
      - name: analysis-vol
        persistentVolumeClaim:
          claimName: analysis-unit-pvc
deployment.yaml
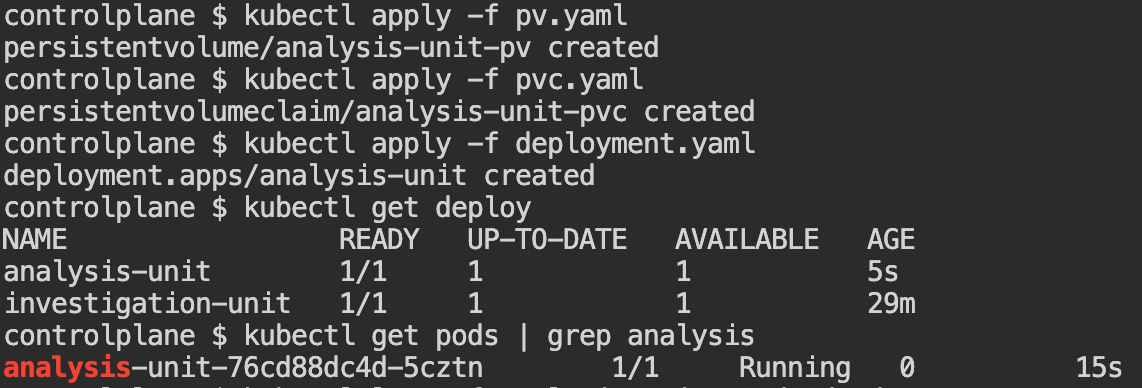
Then we need to create the resources:
kubectl apply -f pv.yaml
kubectl apply -f pvc.yaml
kubectl apply -f deployment.yaml
Output:
We will see the logs of this pod to see what's inside.

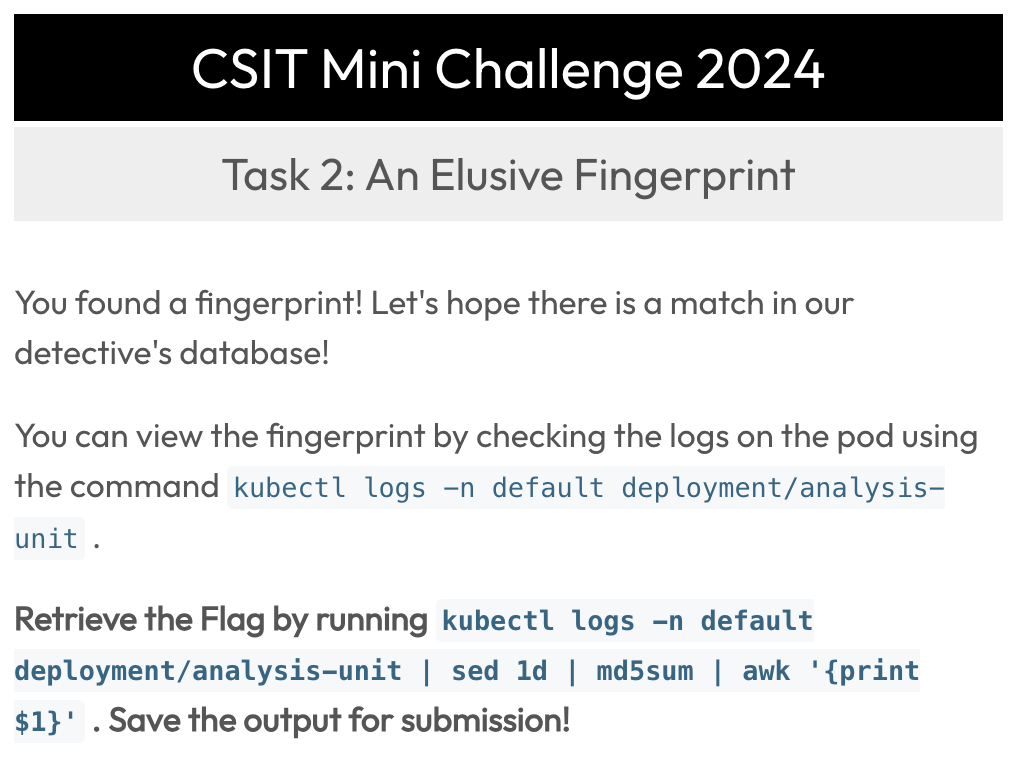
Output:

Task 3: Identify The Culprit
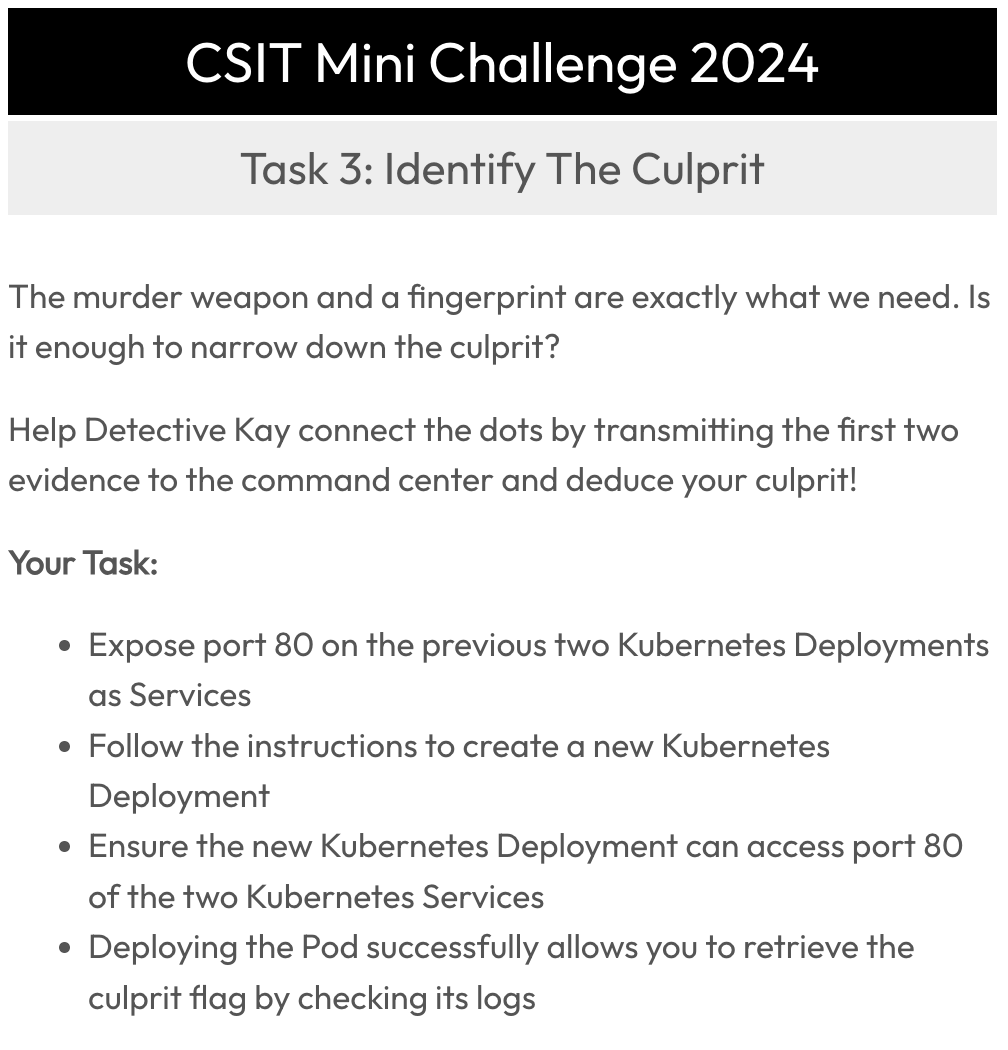
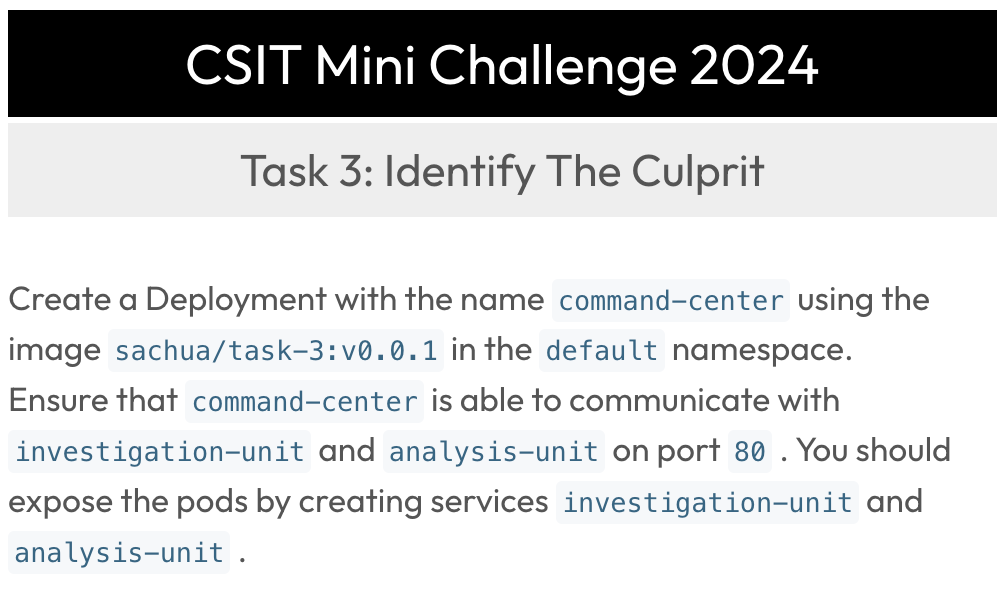
First, we will create a deployment named "command-center":
kubectl create deployment command-center --image=sachua/task-3:v0.0.1 -n defaultOutput:

Then, we need to create the service yaml files:
- investigation-unit-svc.yaml
- analysis-unit-svc.yaml
kubectl create svc clusterip investigation-unit --tcp=80:80 --dry-run=client -o yaml > investigation-unit-svc.yaml
kubectl create svc clusterip analysis-unit --tcp=80:80 --dry-run=client -o yaml > analysis-unit-svc.yaml
apiVersion: v1
kind: Service
metadata:
labels:
app: analysis-unit
name: analysis-unit
namespace: default
spec:
ports:
- name: http
port: 80
protocol: TCP
targetPort: 80
selector:
app: analysis-unit
type: ClusterIPanalysis-unit-svc.yaml
apiVersion: v1
kind: Service
metadata:
  labels:
    app: investigation-unit
  name: investigation-unit
  namespace: default
spec:
  ports:
  - name: http
    port: 80
    protocol: TCP
    targetPort: 80
  selector:
    app: investigation-unit
  type: ClusterIP
investigation-unit-svc.yaml
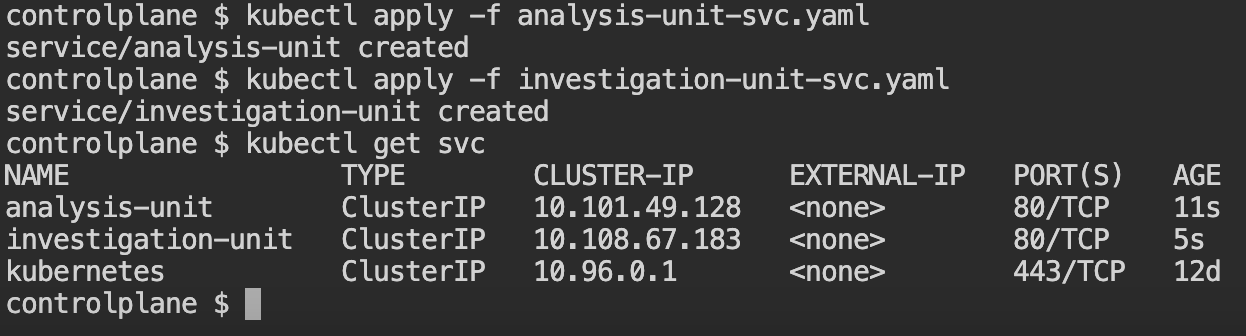
Then create the 2 services:
kubectl apply -f analysis-unit-svc.yaml
kubectl apply -f investigation-unit-svc.yaml
Output:
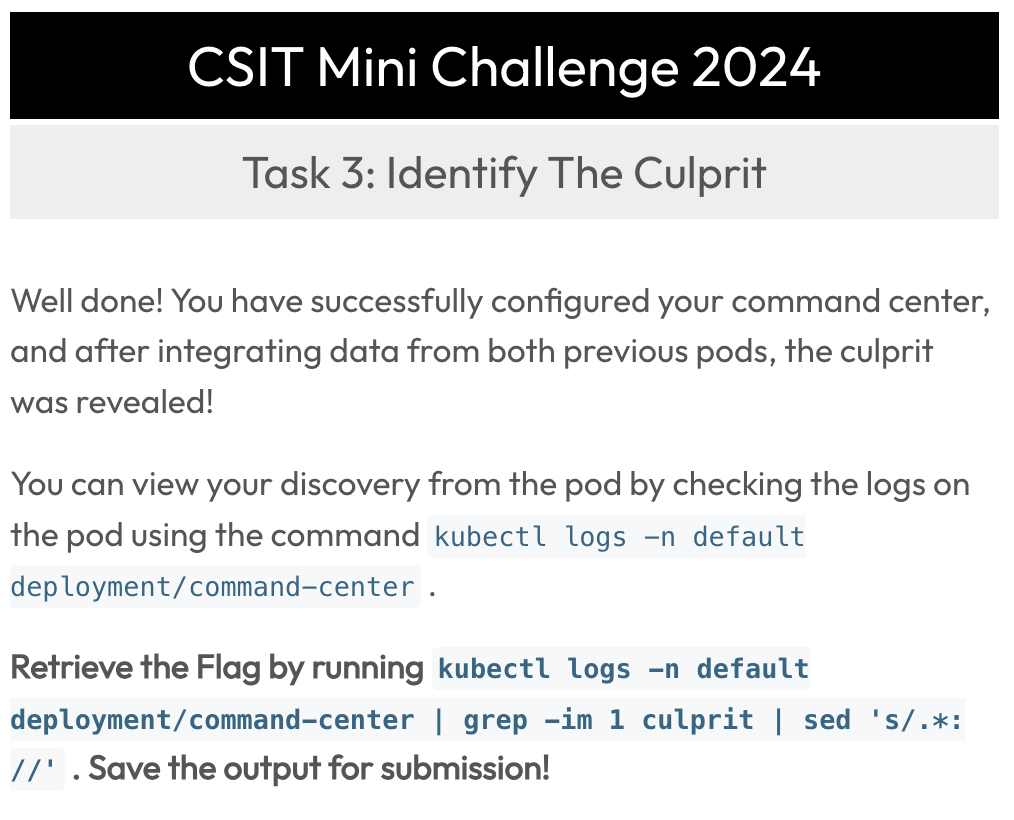
Retrieve the flag by running the command!
kubectl logs -n default deployment/command-center | grep -im 1 culprit | sed 's/.*: //'Output:

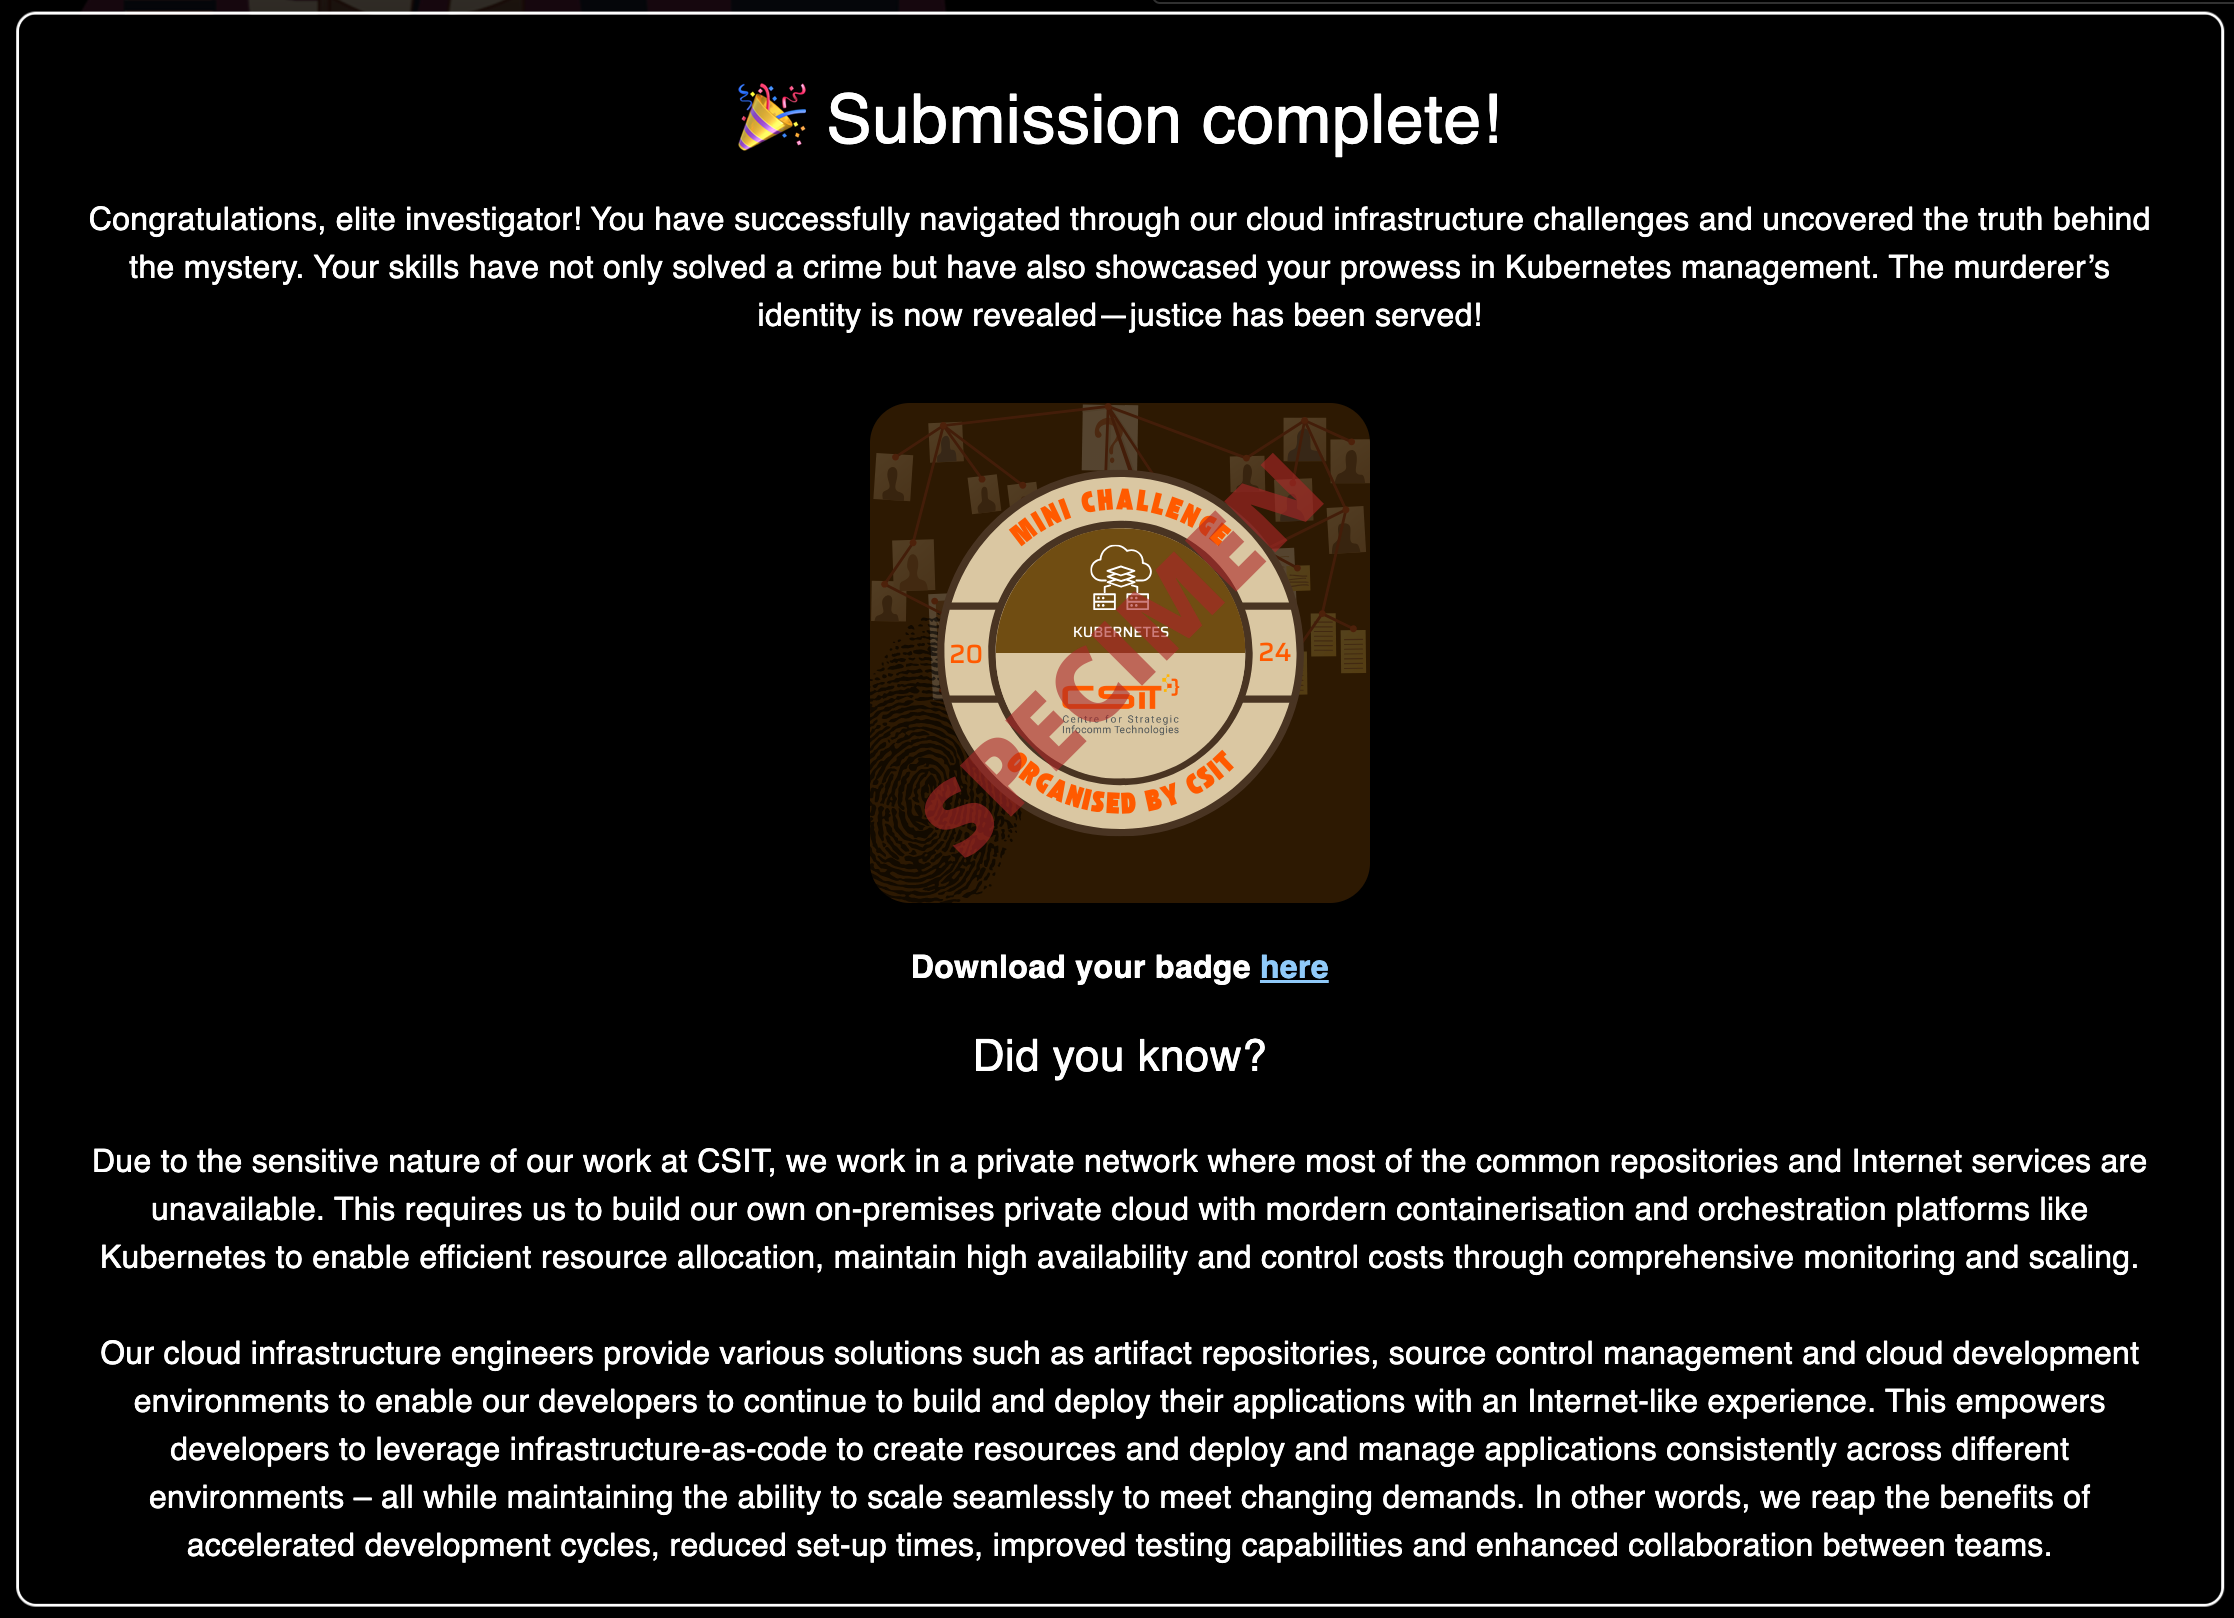
Completion!
Submission of Flags